
I found this recipe in the Christmas edition of Food Network magazine. I used to not be much of a pecan person, but as I’ve aged I grow to like them more and more and these bars are so so good. The original recipe called for bittersweet chocolate, but since that’s not really my jam, I used dark chocolate chips instead. Feel free to use bittersweet in your bars if you prefer.
For the Crust:
- 1/3 cup pecans
- 2 cups all-purpose flour
- 1/2 cup granulated sugar
- 1/2 teaspoon salt
- 1 1/2 sticks (12 tablespoons) cold butter, cut into cubes
For the Filling:
- 3/4 cup dark corn syrup*
- 1/2 cup granulated sugar
- 1/2 cup packed light brown sugar
- 4 large eggs
- 4 tablespoons unsalted butter, melted
- 2 teaspoons pure vanilla extract
- Pinch of salt
- 1 1/2 cups pecans, roughly chopped
- 3 ounces dark chocolate, chips or roughly chopped
Preheat the oven to 350 degrees. Line a 9-by-13-inch baking dish with foil, leaving a 2-inch overhang on two sides; coat the foil with cooking spray. Pulse the pecans in a food processor until finely ground. Add the flour, granulated sugar and salt and pulse to combine. Add the cold butter and pulse until the dough starts clumping together (it will still be crumbly). Transfer to the baking dish and press into an even layer with your fingers. Bake until golden brown and set, 25 to 30 minutes. Meanwhile, make the topping: Whisk the corn syrup, granulated sugar, brown sugar, eggs, melted butter, vanilla and salt in a large bowl until smooth, then stir in the pecans. Spread the topping over the warm crust and sprinkle evenly with the chocolate. Return to the oven and bake until the top is set and no longer jiggly, 25 to 30 minutes (took me 40). Transfer to a rack and let cool completely in the pan. Remove and cut into diamonds or squares.
*If you are like me and don’t always have dark corn syrup, I used 1/2 cup light corn syrup and 1/4 molasses.
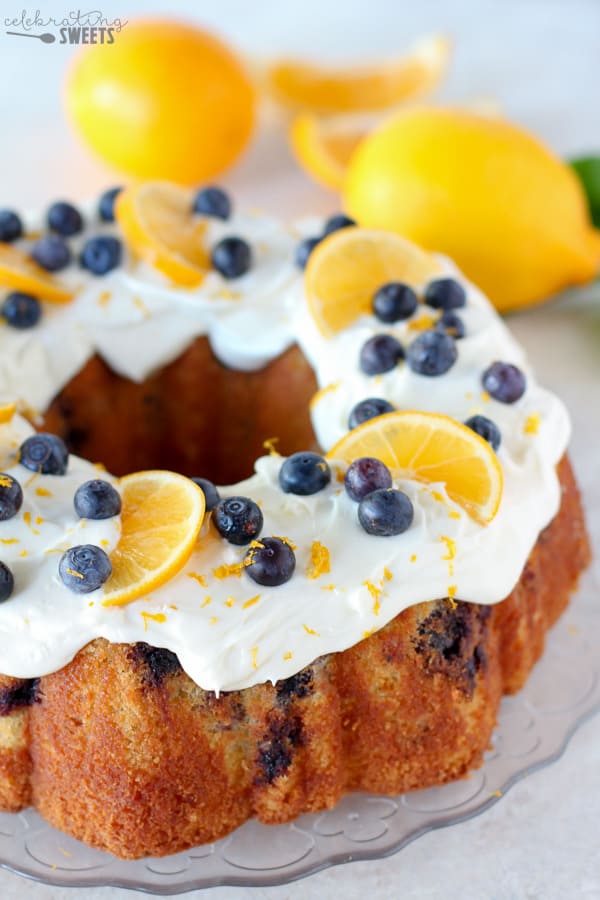 station for training. It was super delicious and I’m glad that I made the cream cheese frosting instead of the glaze I was originally planning on making because it just made it next level. Recipe and photo courtesy of celebratingsweets.com.
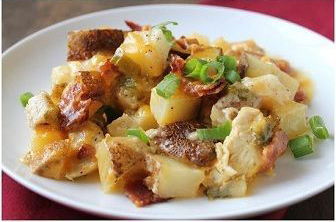 I have made this recipe off and on for the past couple of years and figured it was time to get it on the website. Being a one-dish meal means this is the perfect weeknight recipe. Recipe and photo courtesy of stockpilingmoms.com.
 Last Christmas I had this succotash at my mother-in-laws and I knew I would have to make it myself. It is incredibly easy to make and can be kept warm in the crockpot for hours. Recipe courtesy of Dale Fillmer.
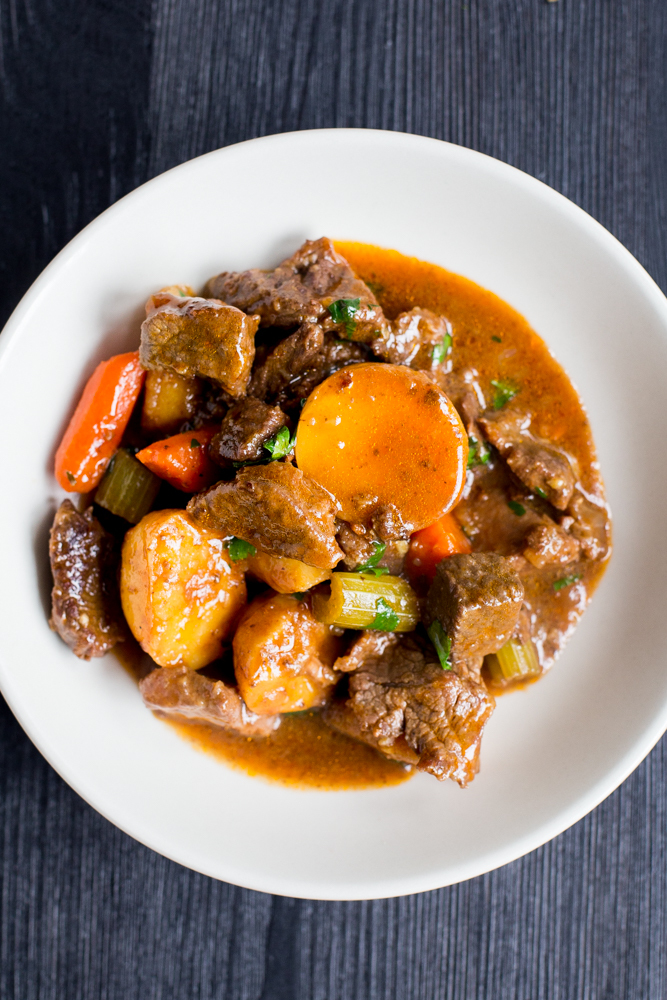 My Christmas present to myself was an Instant Pot and I could not be happier with it.
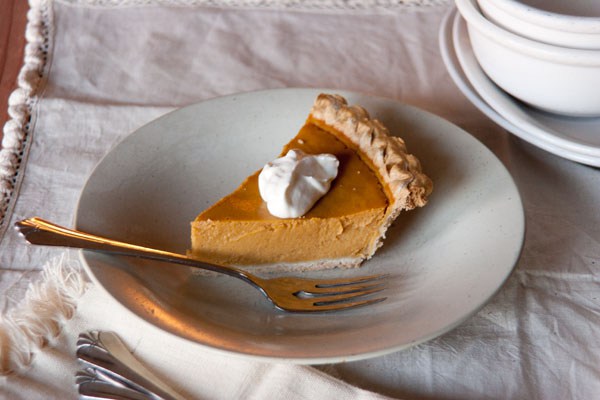 Another holiday season, another pumpkin pie recipe. This is an America Test Kitchen recipe and was sold as the best pumpkin pie ever. There are a couple of things that make this recipe different from the other ones on my site. First, it has canned candied yams and the second is that you have to precook the filling and then strain before baking. Because it has a more complex process I don’t know that I’ll make it as often as some of my other pumpkin pie recipes, but I will say that the result was a deliciously smooth, not-too-heavy pie.
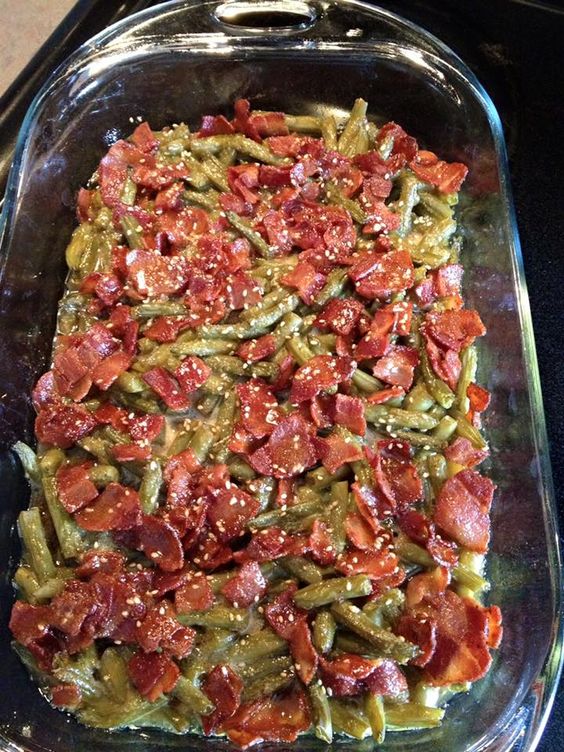 I really like to make these green beans for holidays. They come together quickly and are a guaranteed crowd pleaser. Recipe and photo courtesy of The Farm Stand on Facebook.
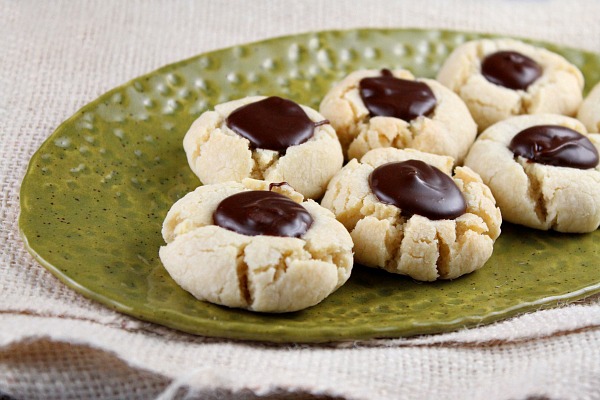 This recipe is a combination of my mom’s and Martha Stewart. The cookie is my mother’s and the chocolate is Martha Stewart. This cookie is a delicious shortbread with a buttery, chocolatey filling that you can’t eat just one of.
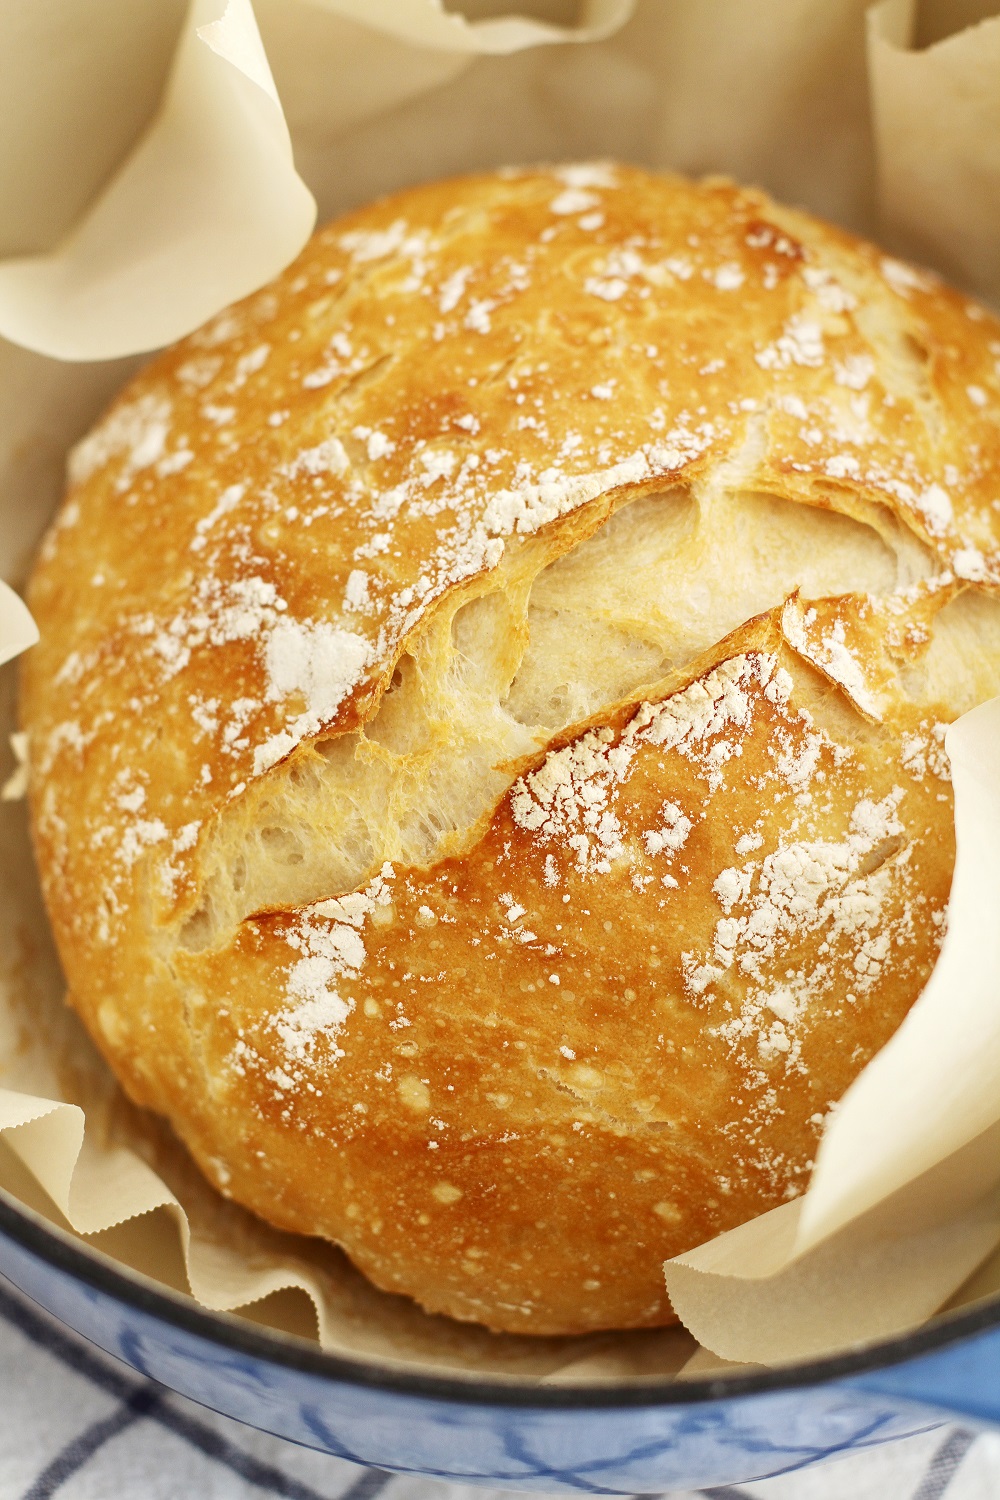 I recently won a cooking class at our local kitchen store and the class I chose to attend was a five minute bread and butter class. Now, if you are like me you will see this name and think you can whip together the dough and in five minutes put delicious bread in the oven. That unfortunately is not the case, but the dough does come together very quickly. Just be prepared to mix it in the morning, and then you will be ready to bake delicious bread when you get home later that day. The recipe is very simple and forgiving, so even if working with yeast makes you nervous, give this recipe a chance.
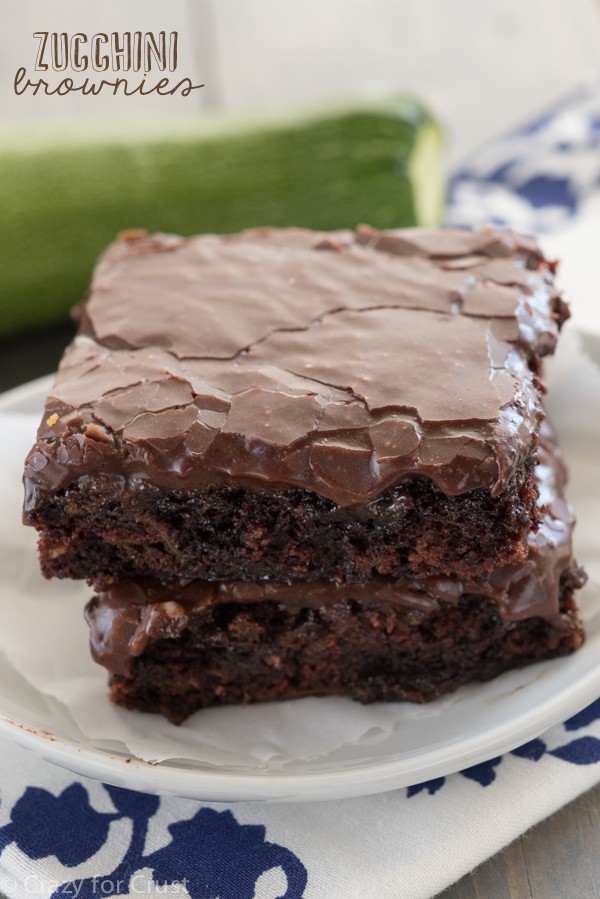 As I mentioned in my previous post, I was gifted two huge zucchini’s that were only fit for a delicious baked good. The first item I made was iced zucchini bread and the other recipe I made were these brownies. My youngest son could not get enough. Recipe and photo courtesy of crazyforcrust.com.